

from €23.98
Related:
Back to Site Stores ({{popupVm.storeTotalCount}})
Artists ({{popupVm.artistTotalCount}})


If you're looking to design fabric for lampshades, we have materials that are perfectly suited for the tas... Read More
Ships in 1 - 2 days
Delivery: €8.95
Handmade item
riginally lampshades were created to project light, often created of semi-spherical reflectors that were placed inside oil lamps to help the light shine further, used in the late 17th century.
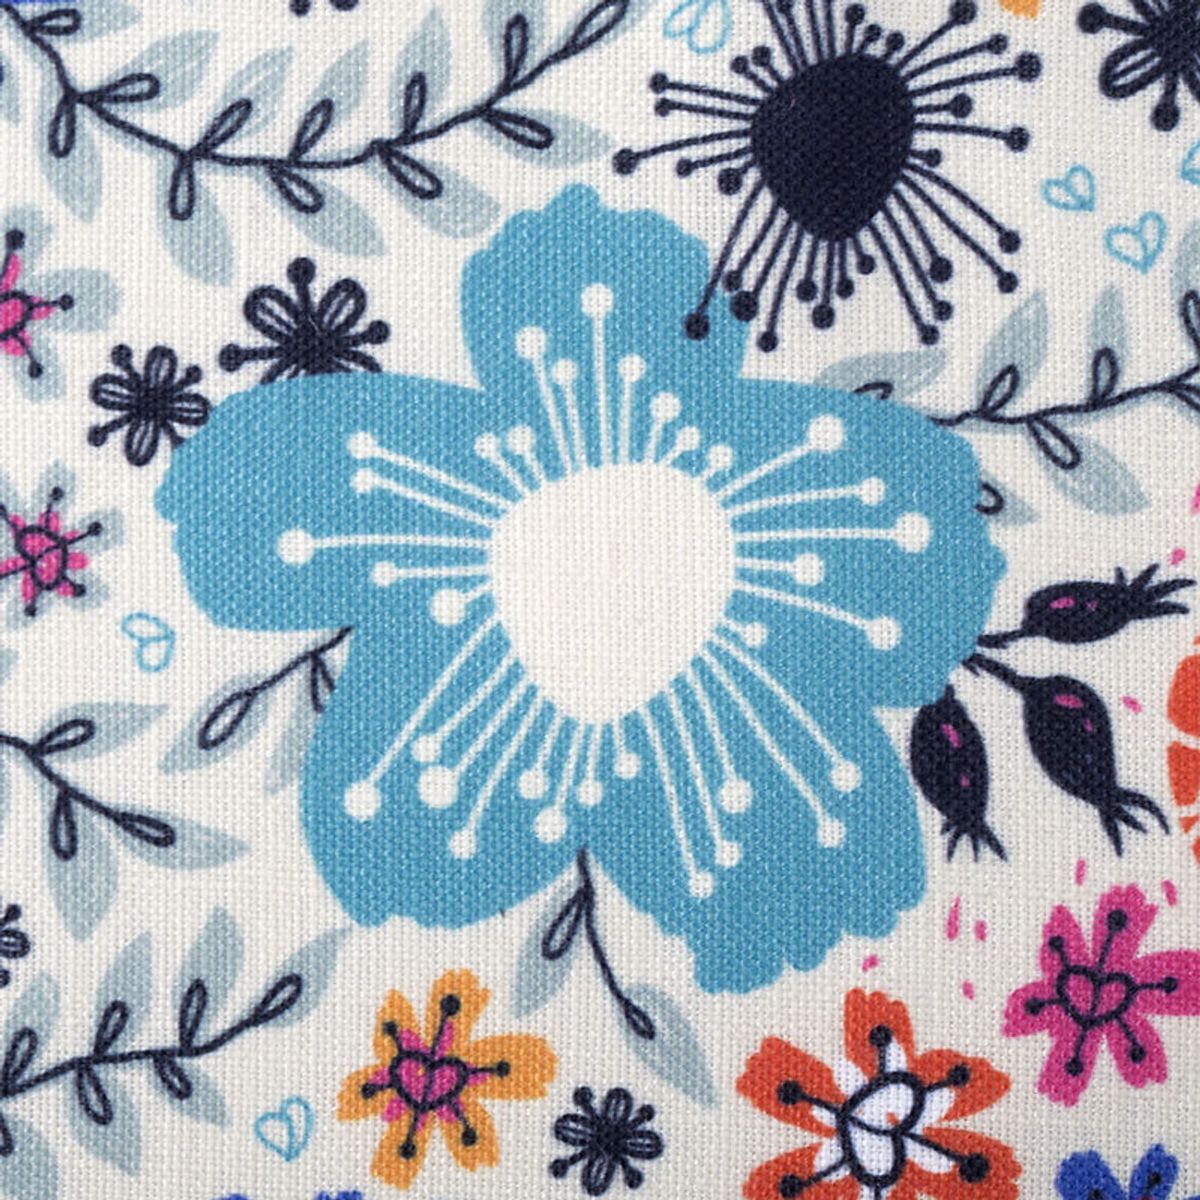
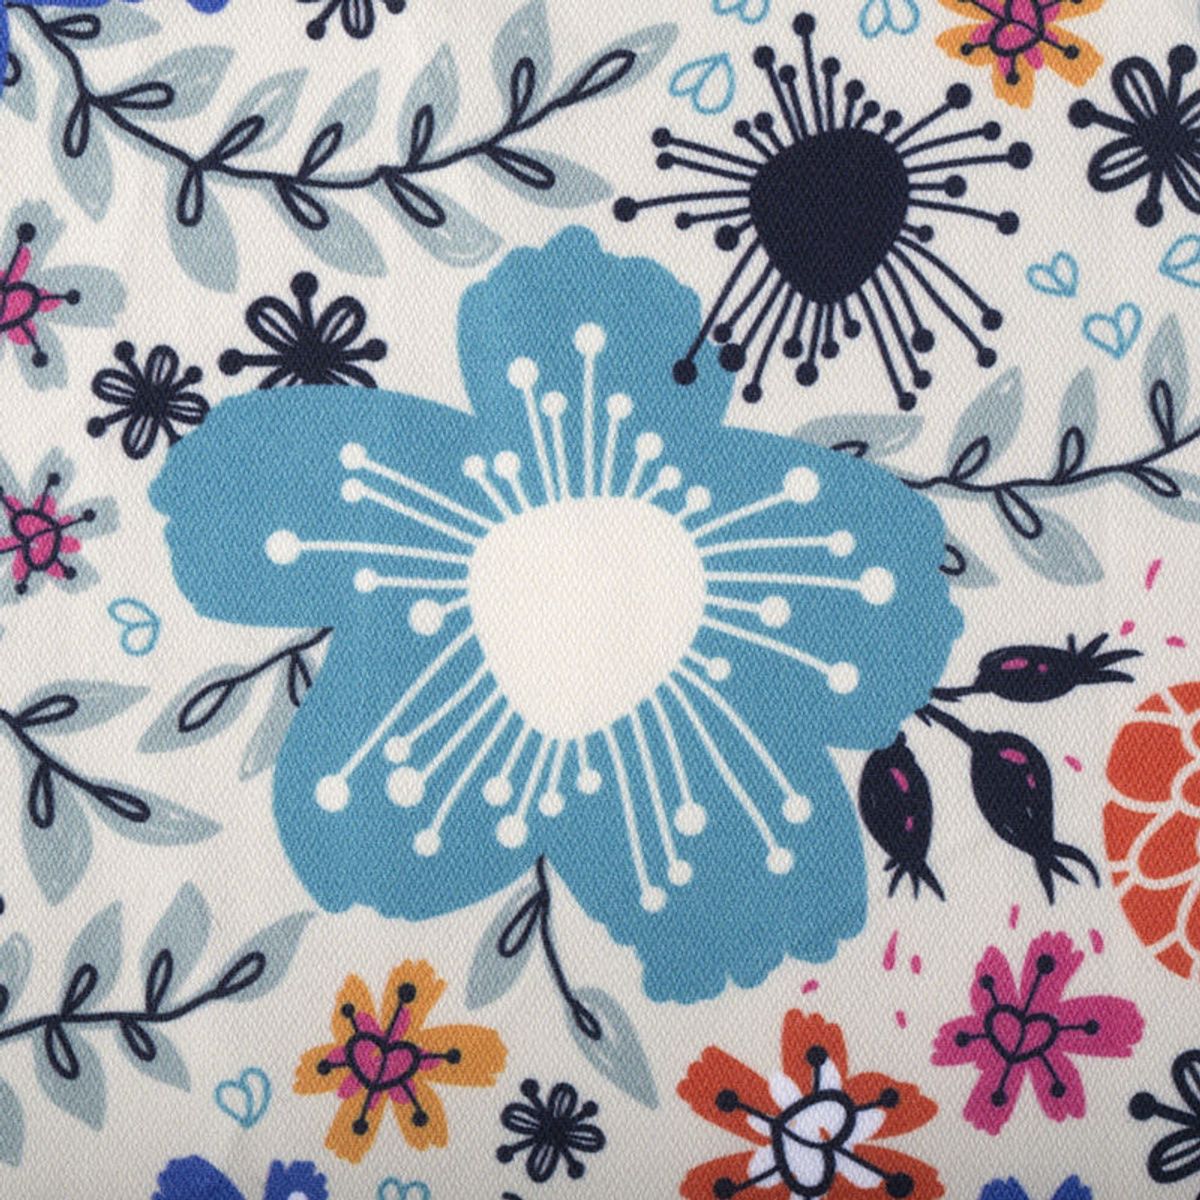
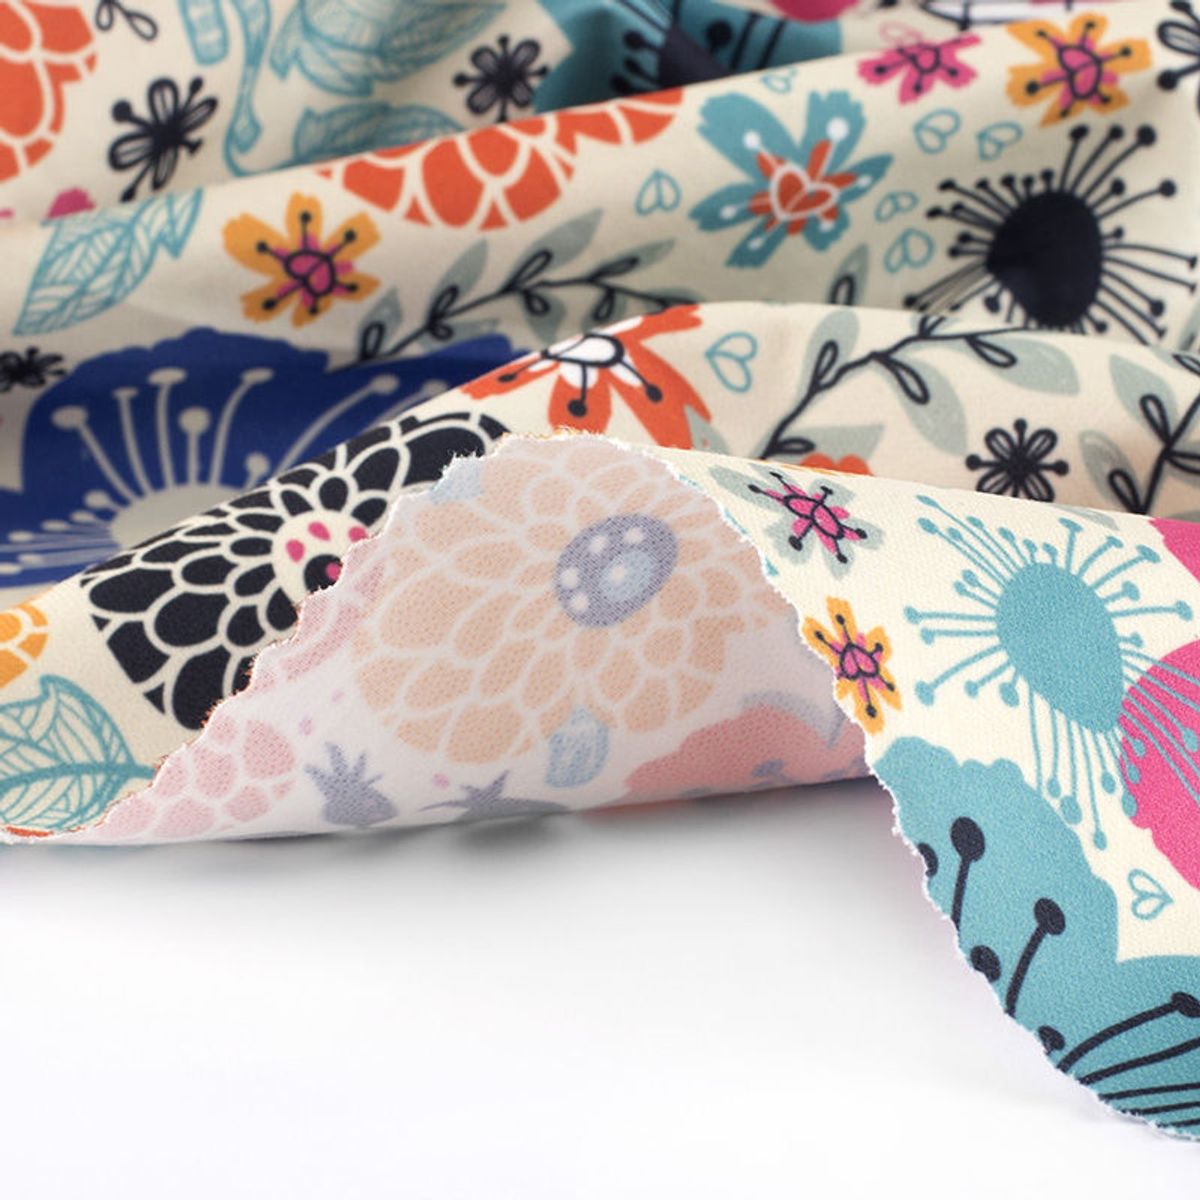
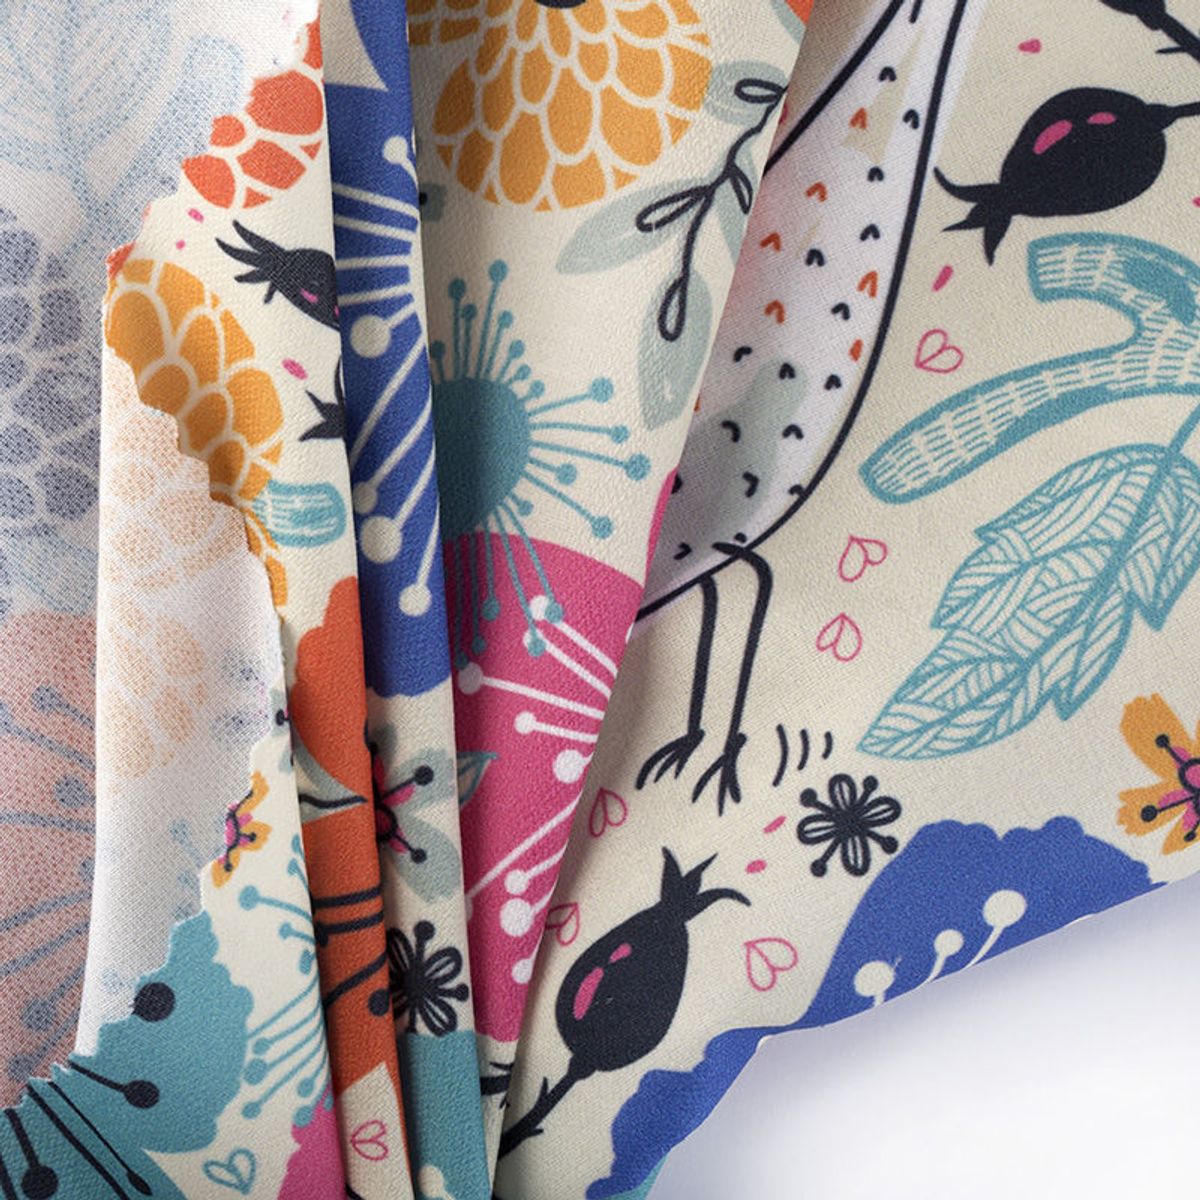
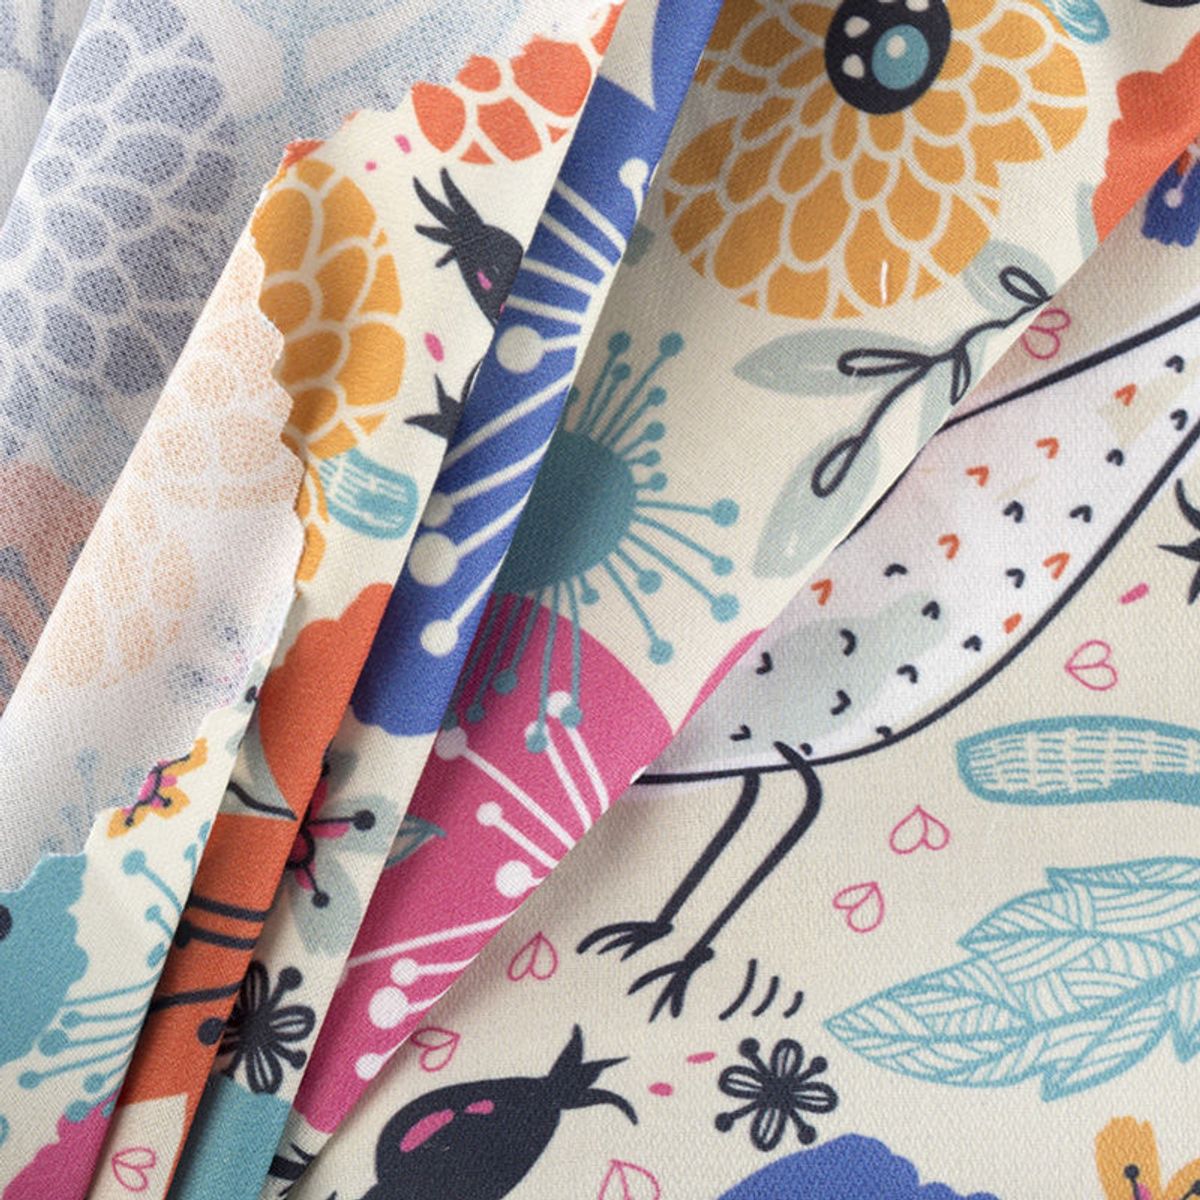
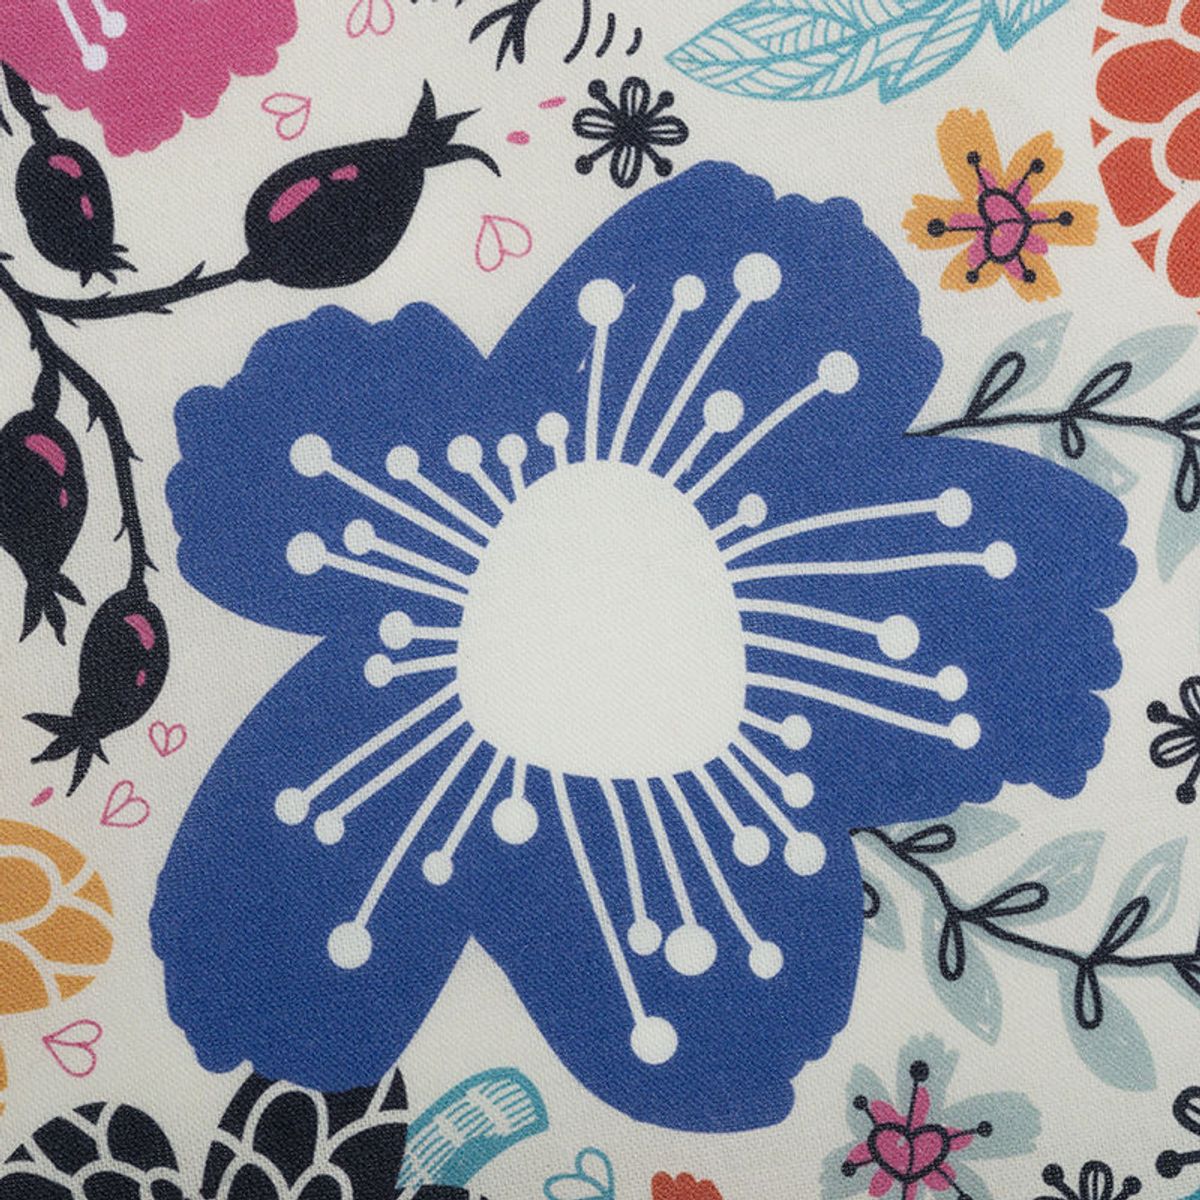
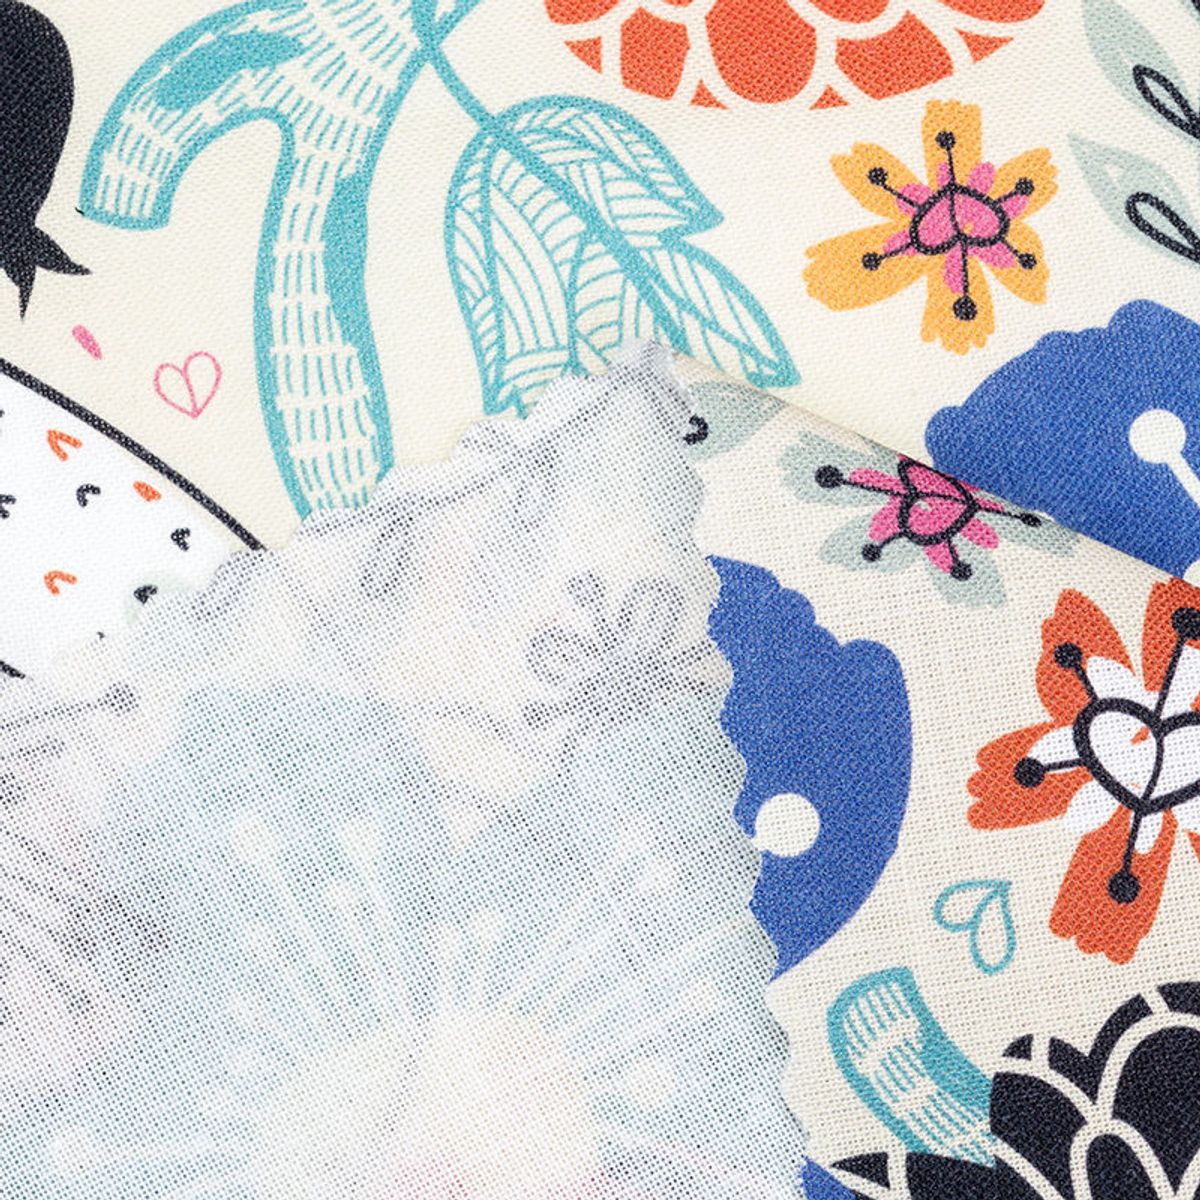
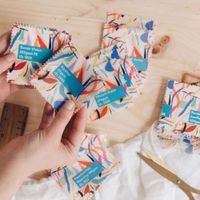
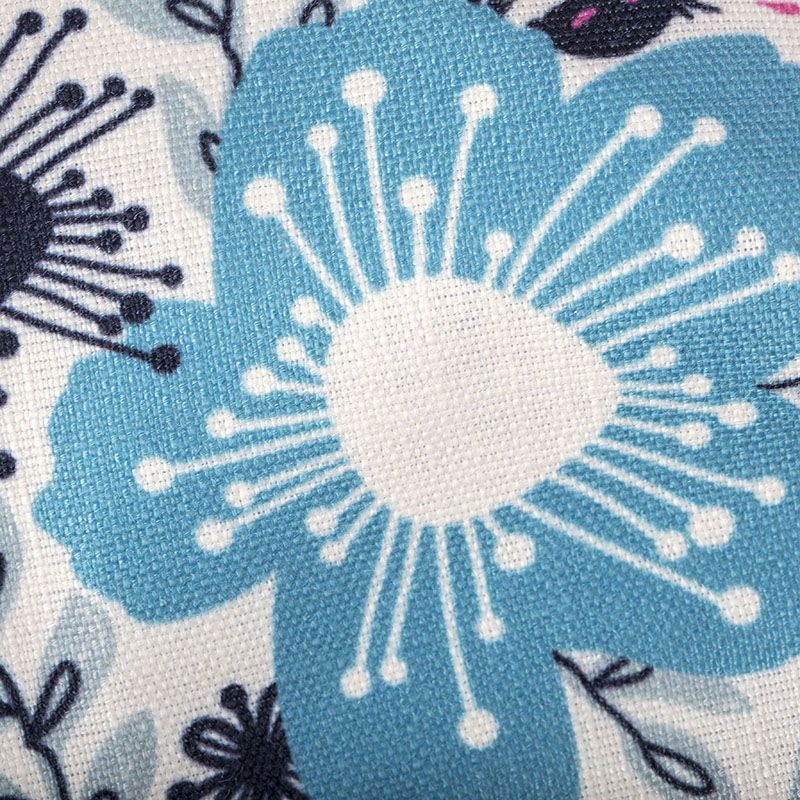
Browse our range of lampshade fabrics
Soft, Matte, Woven, Poly. Linen look. Coarse weave, large fibres. Off white base. Not totally Opaque. Great for craft projects. Use: coats / garments, soft furnishing, craft projects, cushions.
100% polyester
100% cotton, classic Twill. 3/1 Twill weave. Medium weight, great for outer garments, light upholstery.
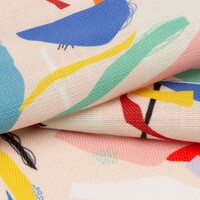
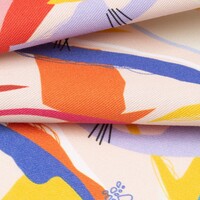
100% cotton
Basic plain weave, dyed white cotton calico. A simple cotton, dyed white for optimal colour.
100% cotton
90% PVC, 5% Polyester, 5% Cotton. Durable "leather" stamp effect leatherette. 30k Martindale rub test for durability, BS5852 cigarette & match FR test. Waterproof (BS3424.5A).
90% pvc 5% polyester 5% cotton
Expected Shrinkage = Warp: 0.75%
Elegant, stylish and utterly sumptuous short piled Chichi Soft Velour. Passes 30k Martindale rub test for durability, passes BS5852 cigarette & match FR test.
100% polyester
Plain Weave FR Polyester 145gsm
100% Polyester
Care instructions
Wash at 30°c, low tumble dry heat, hang to dry, do not wring, low heat iron.


Originally lampshades were created to project light, often created of semi-spherical reflectors that were placed inside oil lamps to help the light shine further, used in the late 17th century. In the 19th century when lighting was mass produced as gas in a factory and distributed out, the air became overheated and the gases used and created meant that the rooms needed ventilating; at this point lampshades were used to attenuate the light rather than to direct it. The invention of the incandescent filament electric light bulb in 1879 saw lampshades start being used in the way that we recognise them today; this was done to disguise the intensity of the electric light. Lampshades tend to be made from fabric, glass, paper, or plastic; popular lampshade fabrics include silk, linen, and cotton.
This is arguably the simplest way to create your own custom lampshades as a DIY project and can be done in a few simple steps.
Step 1: Choose a base
This can be either a plain lampshade, preferably in white or cream, or it could be a specifically designed inner material for a lampshade. This can be in any size or shape you like, but bear in mind that the more complicated it is, the trickier the later steps will be; you may find it easier to start more simply and then build up to the more complex designs.
Step 2: Make a template
You next need to make a template of your lampshade. This is most easily done by marking the lampshade, and starting on that edge. Lay a large piece of paper down and starting at the mark that you created, gradually roll your lampshade across the paper, marking it's path as you go, until you are back at your mark again. (If you have a round lampshade, you'll end up with a rectangle, it its more of a cone shape you will have a curved arc) Add approximately 1 centimetre around all of the edges, for when you are finishing your lampshade.
Step 3: Cut your fabric and apply
Using your template as a pattern, cut your customised lampshade fabric to size. Make sure you are happy with the positioning of your pattern on the fabric and it's placement. Once this is done you will need to fold up and press the extra centimetre you added around the edges; this will make up a seam. Apply the fabric to your lampshade lining, we would advise using a fire safe fabric adhesive and following the manufacturer's instructions.
Step 4: Finish
Ensure that your seam is stuck down over the edging of the lampshade, and allow to dry. Spray your lampshade with a fire-retardant fabric spray, again following the manufacturer's instructions and allow to dry completely. You now have your very own, personalised lampshade made using custom made lampshade material.
Slightly trickier to create, fabric lampshades are made by mounting your fabric onto a styrene backing and applying to a metal lampshade frame.
Step 1: Select your frame and make a template
For this type of lampshade you will be looking for a wire frame, or lampshade rings. A frame will provide the whole of the structure, whereas the rings will provide only the top and the bottom. Using the same method as above, create a pattern for your fabric, using the shade itself as measurements. Remember to add extra all the way around for your seams.
Step 2: Cut your fabric and lining
Using your template you need to cut your fabric and lining to size. Adhesive styrene, or pressure sensitive styrene is one of the most popular materials. It is an extremely thing polystyrene sheet with a sticky side to attach it to your fabric. Any fire retardant, fire proof or fire safe material can be used as a lining, but make sure that you don't use something that may overheat and could cause a fire. With a fire-proof lining, any fabric can be used to make the outside of your lampshade, cotton, silk and lined are the most popular choices.
Step 3: Piece together
Once all of your pieces are prepared, it is simply a case of putting them together. Remember to glue the seam of your shade together when you create the initial circle. If using a frame simply stretch your fabric and lining over the frame, pin in place and stitch. If you are using lampshade rings the easier way to do this is with bulldog clips; clip your fabric into a circle shape and stand it on its end. Carefully insert the ring into the top and clip into place around the top. Then using either a specially formulated lampshade adhesive, or by stitching, carefully secure your fabric over the ring of the lampshade. Once you have done, over-end it, and do the same tot he other end of the lampshade.
Step 4: Finish
Once everything is dry (if you used adhesive) or stitched (if you decided to hand sew) it's time to work on the finishing touches. This involves cutting off any excess, trimming fabrics and threads, and just generally tidying your fabric lampshade up a little so that it all looks perfect. Once this is done your lampshade is ready to be placed on your lamps or light fitting.
Your designs and photos are printed onto your choice of lampshade fabric using a modern printing process with binds eco-friendly inks to the fibres. This creates a deep and strong print which cannot peel and will last for years to come. Your printed lampshade fabric is expertly cut to size and finished with your choice of edge hemming before being sent out to you.

All of our fabrics are printed at 200dpi. This works for us as it combines a great quality as well as a good file weight. In order to avoid resizing and interpolation, we recommend that you scale your image to 100% at 200dpi. Our design interface works with a traffic light system that acts as a quality marker for your designs. This will show you whether the resolution is too low for printing. When you re-upload your design with
Your uploaded design will automatically be scaled to fit the size of
We always recommend using an RGB colour space when you upload your images. More specifically, we suggest using the sRGB image profile, to achieve
There is no length limit for most of our fabrics. Our preview design window is set up to display a maximum of 10m to help you visualise the print, but that doesn't mean this is the print limit. If you'd like to order more, you can increase the quantity (x2 for 20m or x4 for 40m for example) and order as much as you'd like. Larger volumes will receive an automatic discount too. While the fabric length is nothing to worry about, each individual fabric will have a maximum width side: these can be found on the fabric's page information or in the design interface.
Yes, that will help you when it comes to cutting or framing your printed fabric. We recommend always adding a little extra space for borders into your purchased fabric size. When we print your
Crocking is the term used to describe fading along the creases in
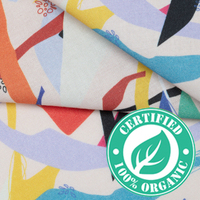
Yes, our organic fabrics don't have an additional coating like non-organic fabrics have, which means it absorbs the inks deep into its fibre and reducing the colour strength slightly (this can be approximately -40%). If you would like a bolder, more vibrant colour for your fabric, we would suggest using a non-organic fabric.
Unfortunately not; all of our fabrics have been tested meticulously to ensure we know exactly how to get the best results, and our facilities cater perfectly to them. If you are set on a fabric we don't offer, we can offer custom printed sublimation paper to order which will allow you to heat press your designs onto your own fabrics.
If your design is simple and less intricate, a JPEG will be absolutely fine. However, if you have created a design with multi-coloured detailing, we would recommend saving your design in a TIFF format.
Similar to other fabric printing processes, shrinkage can occur. The amount of shrinkage will depend on the fabric, but as a general rule of thumb, please allow for 2-8% shrinkage when working out your measurements. Shrinkage is not an exact science, and the amount of shrinkage will vary from print run to print run. We'd always suggest ordering a little more than you need for your project.
Many of the fabrics we offer are semi-transparent, so printing on both sides of the fabric is not a service we offer.
At the moment, all of our fabric labels are printed on satin fabric. For now, we believe this is the best choice, but will potentially introduce other options in the future. All labels are cut to the same label format. If you would like to choose a different fabric and format for your labels, you could always order a sheet of the fabric of your choice to create labels yourself.
Our fabrics are printed with water-based inks as environmental consciousness is
Although very rare, there could be a slight colour difference from one print run to another. This is a normal part of the printing process,
Our full cut & sew service at Bags of Love can be used to your full advantage. We even offer hemming for your fabrics at a small additional cost. Our hems are created with a one or two cold hem that typically uses around 5 to 20mm of fabric (depending on the thickness of your chosen material). Please bear this in mind when you are ordering your printed fabric with hems: If you would like your finished piece to be 100cm x 100cm, change your dimensions to 101.5cm instead to allow space for your hems (you will also need to include additional for potential shrinkage). The thicker the fabric, the bigger the hem will be. Your printed fabric will be hemmed with either Black or White thread. If you are ordering a lightly woven material or
For further information about our fabrics see our FAQs.
Please note: As everything we provide is handmade to order, you may find a slight variance in the sizes.